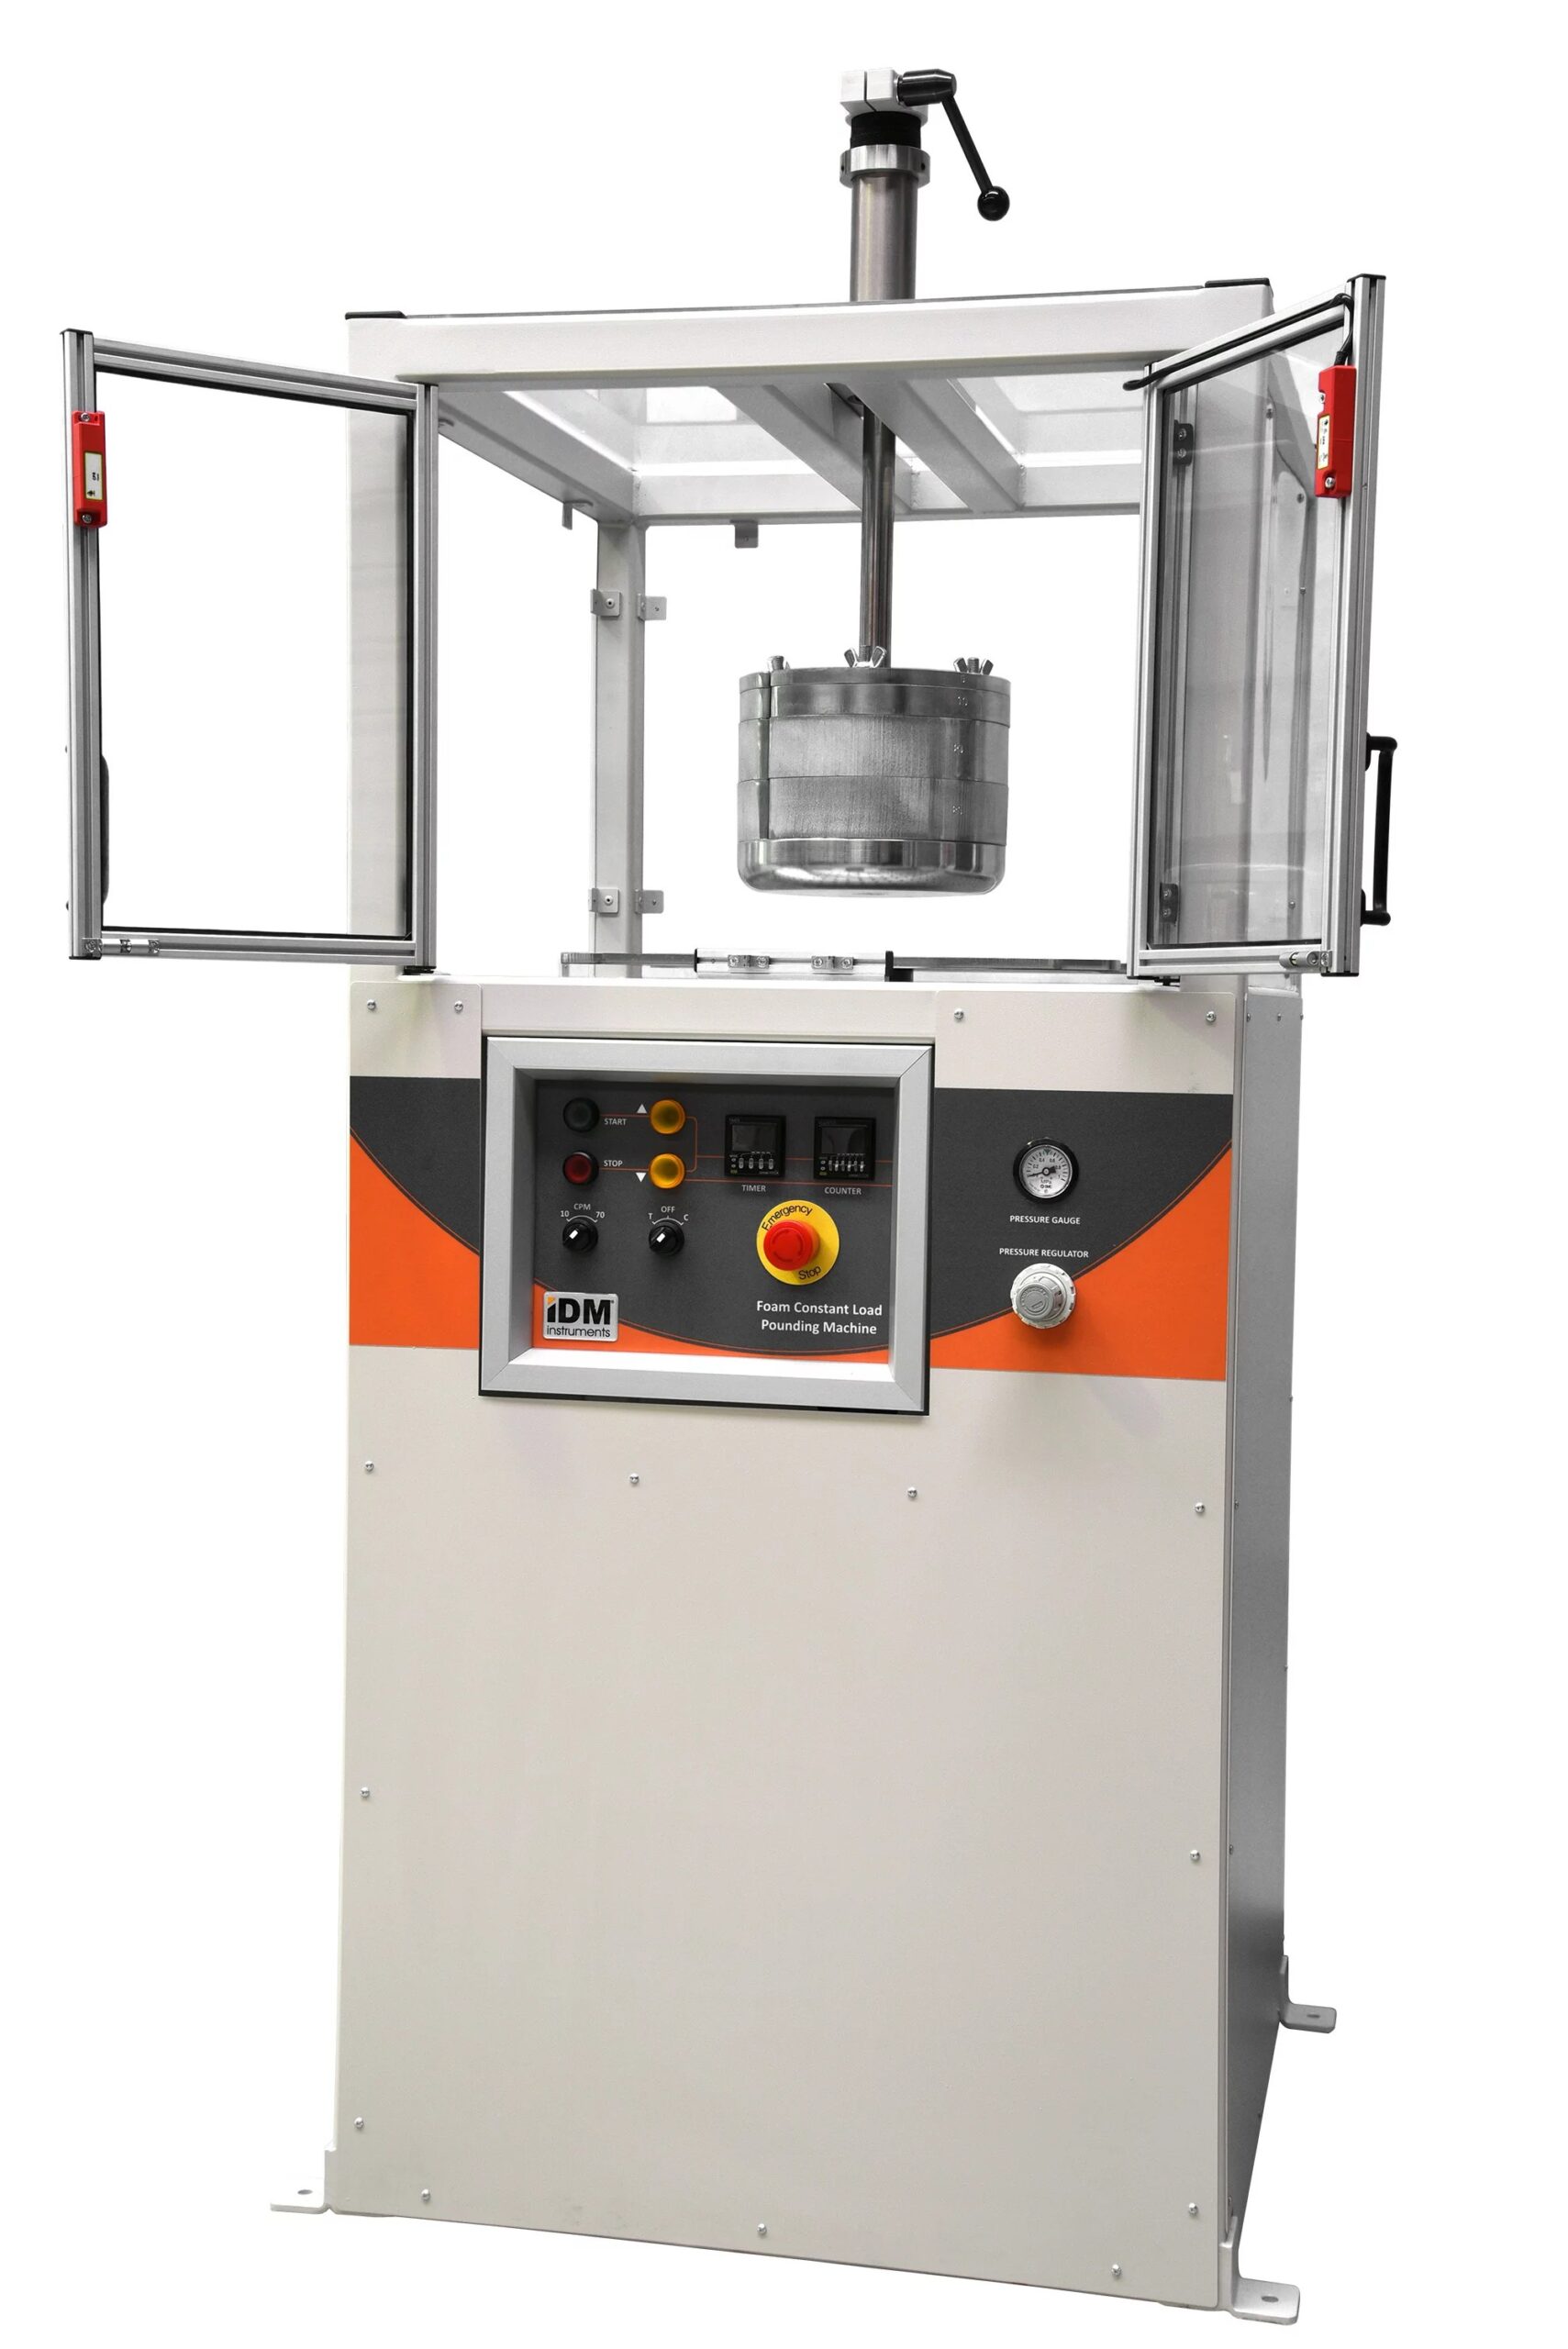
เครื่องทดสอบความล้าของโฟม ทดสอบการกระแทกของโฟมอย่างต่อเนื่อง เครื่องได้รับการออกแบบและผลิตขึ้นโดยเฉพาะตาม มาตรฐานสากล. ใช้สำหรับกำหนดการสูญเสียความหนาและความแข็งของวัสดุเซลลูลาร์ที่ยืดหยุ่นซึ่งมีไว้สำหรับใช้ในเบาะ
The Constant Load Pounding Machine is useful for determination of loss flexible cellular materials. This includes loss in thickness and hardness for use in upholstery.
This allows assessing the service performance of flexible cellular materials. Especially those useful in load-bearing upholstery. The instrument can test two samples types. Firstly, standard size test pieces cut from stock material. Secondly, shaped samples.
Additional information
Description
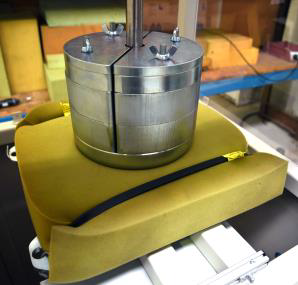
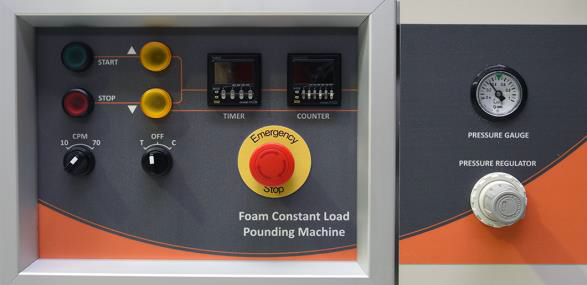
The indentor repeatedly compresses the test sample. A pneumatic cylinder is inside the machine, raising the base platen to pound against the circular indentor. A set of weights on top of the indentor gives a repetitive load against the sample. The instrument is suitable for a maximum load of 750N per cycle for 80,000 continuous load cycles at 70 cpm. Thus, in accordance with international standards. The machine also performs standard tests with viscoelastic memory foams at 10cpm for 12,000 cycles. That is according to ASTM D3574. This machine allows 0 to 999,999 cycles.
For added safety, the sample area is fully enclosed. And limit switches to cease so all operation if the door opens. Thus, ensuring no harm come to operators.


Foam Constant Load Pounding Test
Foam Constant Load Pounding Machine Apparatus
The Machine consists of the following parts:
- Plane platen: capable of supporting the test piece and has holes approximately 6mm in diameter at approximately 20mm pitch in order to allow air to escape from the test piece.
- Indentor: overall diameter of 250mm ± 1mm, with its lower edge having a radius of 25mm ± 1mm. The indentor is constructed in such a way that its rigidly fixed head, which has a smooth but not polished surface, applies a force of 750N ± 20N during cyclic loading. (Note: All Weight sets supplied are required to be mounted to the indentor in order to reach 750N force)
- Indentor support mounting: supports the Indentor except at the point in which the full force/load of 750N ± 20N is absorbed by the test piece. The Indentor is free to move within the Indentor support mounting so as not to overload the test piece.
Applications
- Foam
- Seating
- Polyurethane
Benefits
- Easy to use
- Fast results
- Accurate
Standards
- AS 2282.12
- ASTM D3574 – Standard Test Methods for Flexible Cellular Materials—Slab, Bonded, and Molded Urethane Foams
- ISO 3385 – Flexible cellular polymeric materials — Determination of fatigue by constant-load pounding
- BS EN ISO 3385
- DIN EN ISO 3385
- EN ISO 3385
- JIS K 6400 – Test methods for flexible polyurethane foam
Features
- Plane Platen
- Indentor, diameter: 250 +/- 1mm 25 +/- 1 mm radius
- Maximum force of 750 +/- 20 N
- Speed: 70cpm setting – 70 +/- 5 cpm | 10cpm setting – 10 +/-1 cpm
- Stroke adjustable
- 2 x 20 Kg Weights
- 1 x 10 Kg Weights
- 2 x 5 Kg Weights
- Up / Down Indicator
- Counter
- Regulators
- Start / Stop
- Timer
- Emergency Stop Switch
- Air: 600kpa – 800kpa (Air volume sufficient to operate for an extended period of time)
- Electrical: 220/240 VAC @ 50 HZ or 110 VAC @ 60 HZ
- Dimensions: 1,800mm x 880mm x 760mm
- Weight: 300kg
Foam Test Samples
Test pieces shall have sides of 380mm ± 20mm and a thickness of 50mm ± 2mm (parallelepiped). Tests may also be carried out on pieces that do not comply with these sizes, however, adjustments to the flow control valves may be needed for correct operation.
If the test piece shows an orientation of the cellular structure, you should decide in which direction the force is to be applied. Normally, testing is carried out in the direction in which the finished product will be stressed under service conditions. Three test pieces are needed for testing. This is so that you can get an average reading between the three tests.
Test pieces should not be tested less than 72 hours after manufacture unless it can be demonstrated that the compression stress-strain characteristics obtained do not differ more than ± 10% from those obtained after 72 hours. Prior to the test, the test piece should be stored for at least 16 hours at either: 23˚C ± 2˚C, 50% RH or 27˚C ± 2˚C, 65% RH.
Test Results
A test report may be constructed noting the following:
a) Date of test.
b) Operator name.
c) Test piece description and identification.
d) Reference standard.
e) Conditioning used.
f) Size and Shape of test samples.
g) Predominant direction of cellular structure.
h) Median percentage thickness loss after pounding.
i) Median hardness loss after pounding.
No Media Data.
หากลูกค้าสนใจสินค้าหมวดหมู่
เครื่องทดสอบความล้าของโฟม ทดสอบแรงกระแทกอย่างต่อเนื่อง Foam Constant Load Pounding Machine
สามารถติดต่อเราได้ที่นี่


